Your cart is currently empty!
How to Build a Copper J-Pole Antenna for HAM and GMRS Radio (DIY Step-by-Step Guide)

Table of Contents
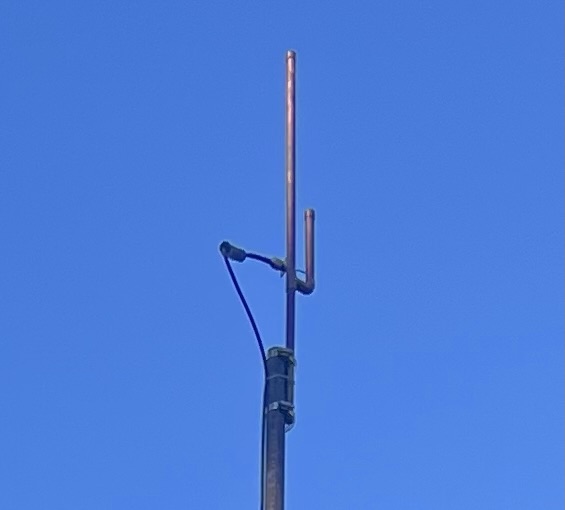
If you’ve ever felt the desire to construct your antenna yourself, only to be undecided on how to proceed, then you need to build a copper j-pole antenna and we think this project is for you. This is both cost-effective and requires little to no special equipment.
The first antenna I made was a J-pole, and I didn’t have an SWR meter for that project either. I just made my measurements, assembled the thing, plugged it in, and it worked wonderfully. This is, of course, the beauty of that design.
At RadioOpBox.com, we enjoy radio projects that can be completed by anyone, regardless of their level of radio knowledge.
???? What You’ll Need

Everything that you will need to build a copper j-pole antenna, you can purchase either at a hardware store or through the internet.
Materials:
- 10 ft of ½ inch copper pipe
- Two ½-inch copper T-fittings
- One ½ inch copper end cap
- Coax connector (SO-239 or N-type)
- Stainless steel hose clamps
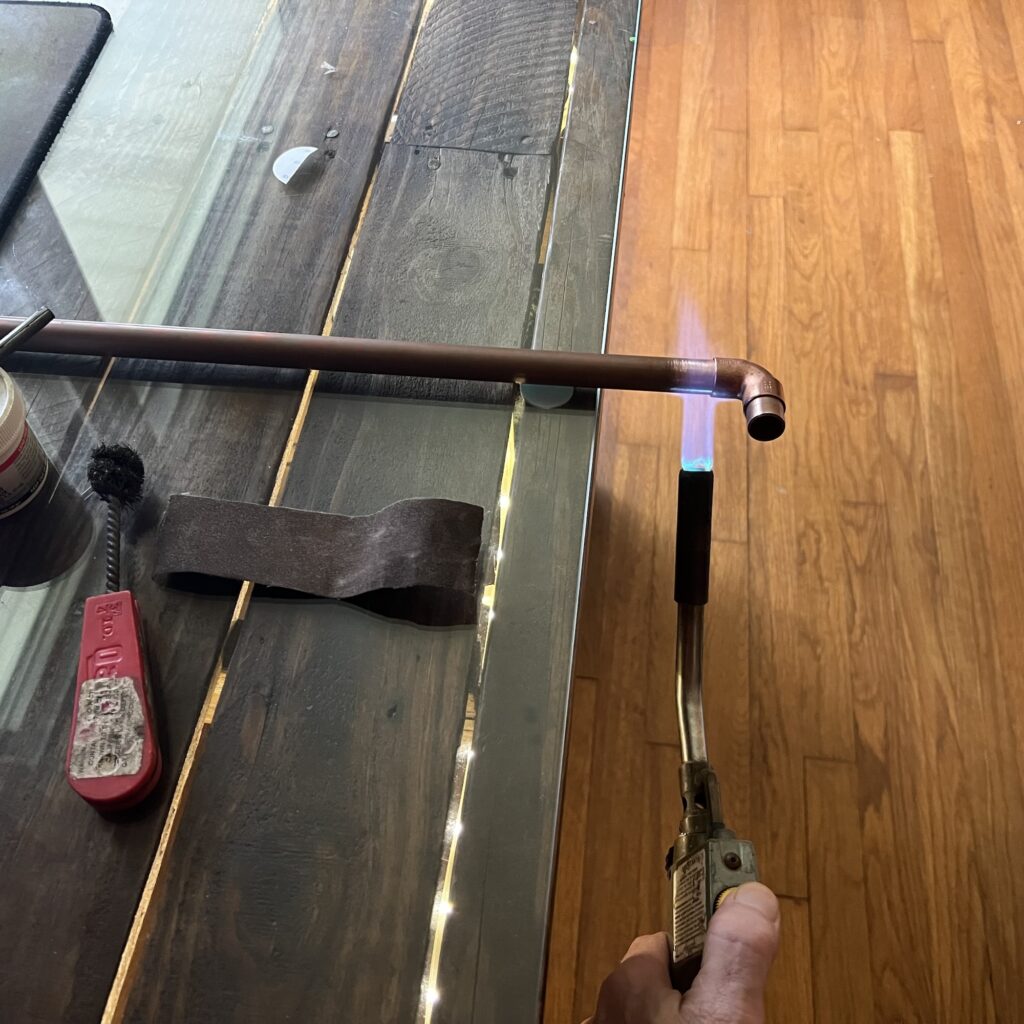
- Solder or brazing torch
- Measuring tape and hacksaw
Recommended accessories:
???? Step 1: Understanding the J-Pole
The J-pole antenna has a half-wave radiator and a quarter-wave matching stub. This simplifies the antenna construction process because it doesn’t require a ground plane, only accurate measurements and adequate solder joints.
For 2-meter HAM frequencies (~146 MHz):
Long radiator: ~58 inches
SHORT STUB: ~19 INCH
For GMRS (462–467 MHz) operation, reduce each dimension by one-third., reduce each dimension to about one-third.
??? **Step 2: Cut and Assemble**
- One copper pipe, cut to 58 inches.
- Trim another to 19 inches.
- Join them using a T-fitting at the bottom.
- Cap the top of the longer pipe.
- Leave approximately ¾ inch space between the two pipes.
Dry fit first, then solder when satisfied with the design.
???? Step 3: Connect the Feedpoint
Connect your coaxial cable feed line approximately 2½ inches from the T-joint:
- Center conductor → longer radiator
- Shield → shorter stub
Initially, you can start using hose clamps, then solder it permanently once it’s functioning.
# Step 4: Real-World Setup
I didn’t use any meters or analyzers, I just hooked it up to my radio, erected a mast, and keyered up. The difference was clear immediately. The signal from my local repeater came in stronger, and I was receiving clear reports from my contacts several miles away.
The beauty of this design is that it is forgiving, simple, and can still produce wonderful results without using actual measurements.
???? Step 5: Mounting
Try to install your antenna as high as possible, preferably 15 to 20 feet from the ground. An mast made from PVC or fiberglass will be your best option.
If it’s a matter of going outside, it’s important to seal the joints and ground the coax.
???? What to Expect
A properly constructed copper J-pole can provide you with:
- Gain: ~3 dBi
- VSWR: Preferably low enough to ensure reliability
- Range: 15 to 30 miles line-of-sight (dependent upon terrain and radio
Pair it with a good handheld like the
Anytone AT-D878UVII+
and will notice a marked improvement in clarity and reach.
???? Related Posts
- How to Tune and Test Your Radio Antenna
- LMR-400 vs RG8X Coax Guide
- Top HAM & GMRS Accessories from BTECH
# Final Thoughts
One of the most satisfying amateur radio projects to undertake yourself is to build a copper J-Pole antenna of your own. It’s extremely low-cost, quick, and will provide superior results without having to use any additional electronics or analyzers.
At RadioOpBox, we share how-to’s that range from real-world experience, the sort of thing that you can really build, not just read.
If this guide has assisted you, support us by visiting our affiliates:
Always keep exploring, experimenting, and 73!
– The RadioOpBox Team
Written by the RadioOpBox Team — a group of licensed operators and radio enthusiasts, sharing real world projects, tutorials, and reviews since 2025.
Disclosure
As an Amazon Associate and BTECH affiliate, RadioOpBox.com may earn commissions from qualifying purchases. These small commissions help us keep creating free, hands-on guides for radio enthusiasts. Thanks for your support!

Leave a Reply