If you’re a GMRS or HAM operator, it’s important that you understand how to tune your radio antenna and check it. A tuned antenna will deliver signals clearly, minimize interference, and preserve your radio equipment. In this tutorial, we’ll instruct you on how to get the most out of your antenna.
Whether you’re adding your first base station or upgrading a portable installation, this tutorial will lead you to the optimum result.
Why Proper Antenna Tuning Matters
A mismatched antenna will reflect energy back into your radio, giving you weak signals and potentially causing damage. Proper tuning guarantees:
Maximum signal levels
Less interference with adjacent electronics
Safe, efficient operation of your radio
Tuning isn’t optional for HAM operators, though—it’s necessary to ensure your license privileges are being utilized to the maximum.
Have a look at our Beginner’s Guide to Programming DMR Radios for more essential HAM must-know tips.
Tools You’ll Need for Tuning and Testing

First, acquire these tools:
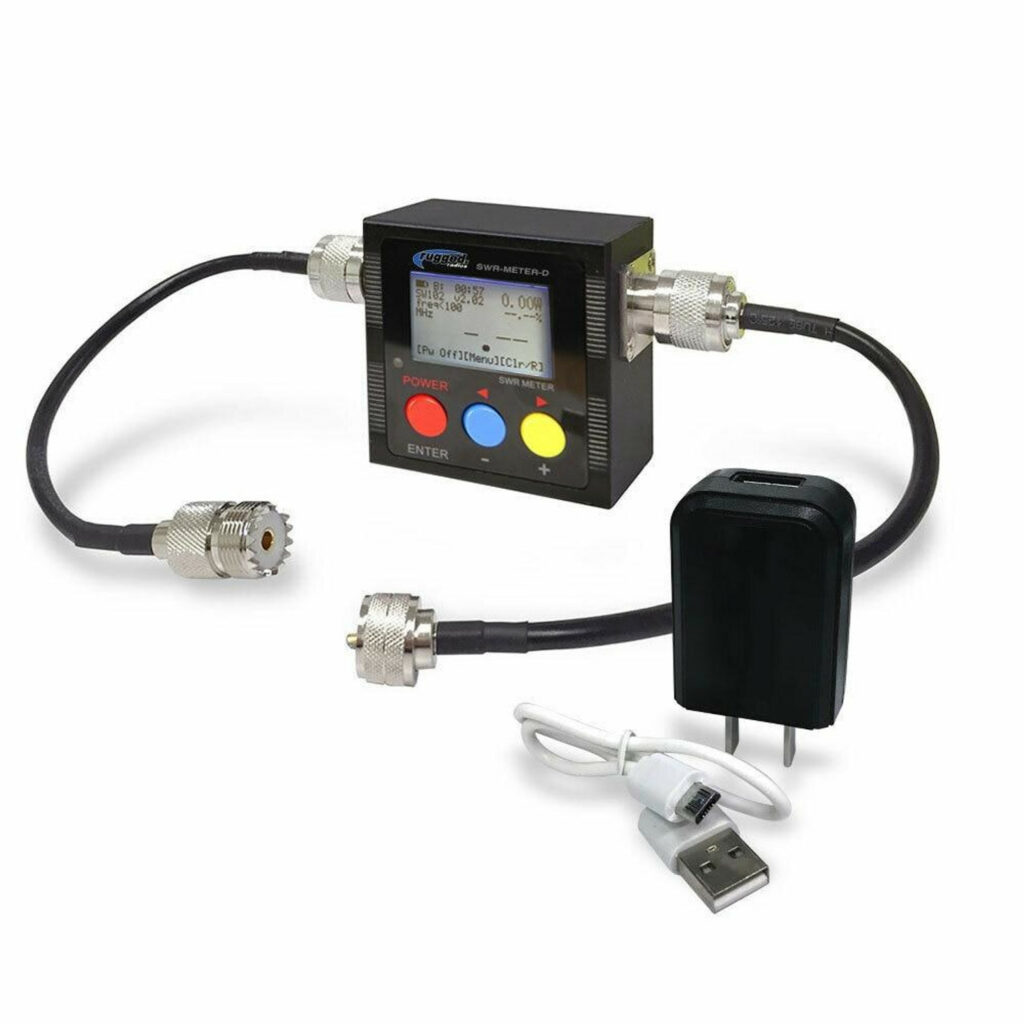
- Antenna analyzer on Amazon – Detects SWR and impedance
- LMR-400 coax cable on Amazon – Minimal signal loss for HAM and GMRS configurations
- Adjustable antenna mount on Amazon – Tweak antenna height and angle
- Screwdriver or wrench – Move antenna elements
- Optional: Multimeter – Test continuity if necessary
Having good tools around makes tuning precise and easy.
Step 1: Connect Your Antenna to Your Radio
Attach your antenna securely to a coaxial cable. Use LMR-400 to minimize signal loss. Make connections tight and corrosion-free.
Tip: Use short cables where possible. Long cables attenuate signals and lower the accuracy of SWR readings.
Step 2: Take a measurement of the SWR (Standing Wave Ratio)
SWR is the most critical measure of a properly tuned antenna.
Hook your antenna analyzer to the antenna
Sweep the frequency range you plan to use
Watch the SWR readout—ideally 1.5:1 or lower
If the SWR is excessive, your antenna length or orientation may need to be re-adjusted.
Step 3: Fabricate Antenna Elements for Optimum Performance
The adjustments vary by antenna type:
Vertical antennas: Shorten or lengthen whip
Dipoles: Trim both legs the same; simple to trim, hard to add
Ground plane antennas: Ensure radials are at ~45° for best performance
Check SWR after each adjustment until within acceptable range.
For guidance on how to maximize antenna performance, see our article Building Your First 1/4 Wave Ground Plane Antenna.
Step 4: Test Your Antenna With a Live Transmission
After tuning, test the antenna:
Test the antenna with a low-power transmission to a local station
Request feedback for signal strength and quality
Check for noise or distortion, an indication of interference
This confirms your tuning under real conditions.
Step 5: Keep Your Antenna in Good Condition Regularly
Weather, corrosion, and physical damage will reduce performance. Oftentimes:
Check for corrosion on connectors
Test SWR regularly
Replace old coaxial cable
Maintenance will keep your antenna performing at its best.
More HAM and GMRS Operator Tips
- Use LMR-400 coax to minimize signal loss
- Keep antennas clear of metal structures that cause signal distortion
- Keep a record of your tuning adjustments for later
Visit our Radio Op Box Blog for more HAM and GMRS lessons.
Recommended Tools on Amazon
Conclusion
Having a means of tuning and testing your radio antenna is essential for every HAM and GMRS user. Tuning correctly saves most signal power, reduces interference, and protects your radio equipment from damage. With these instructions, you’ll enjoy clear, reliable communications on the air.
For detailed guides and tutorials, go to our Radio Op Box Blog for step-by-step guides, equipment reviews, and advanced HAM radio tips.


Leave a Reply