Your cart is currently empty!
Tag: HamRadio
-

Mobile HAM Radio Setup: How to Install a HAM Radio in Your Vehicle
Table of Contents
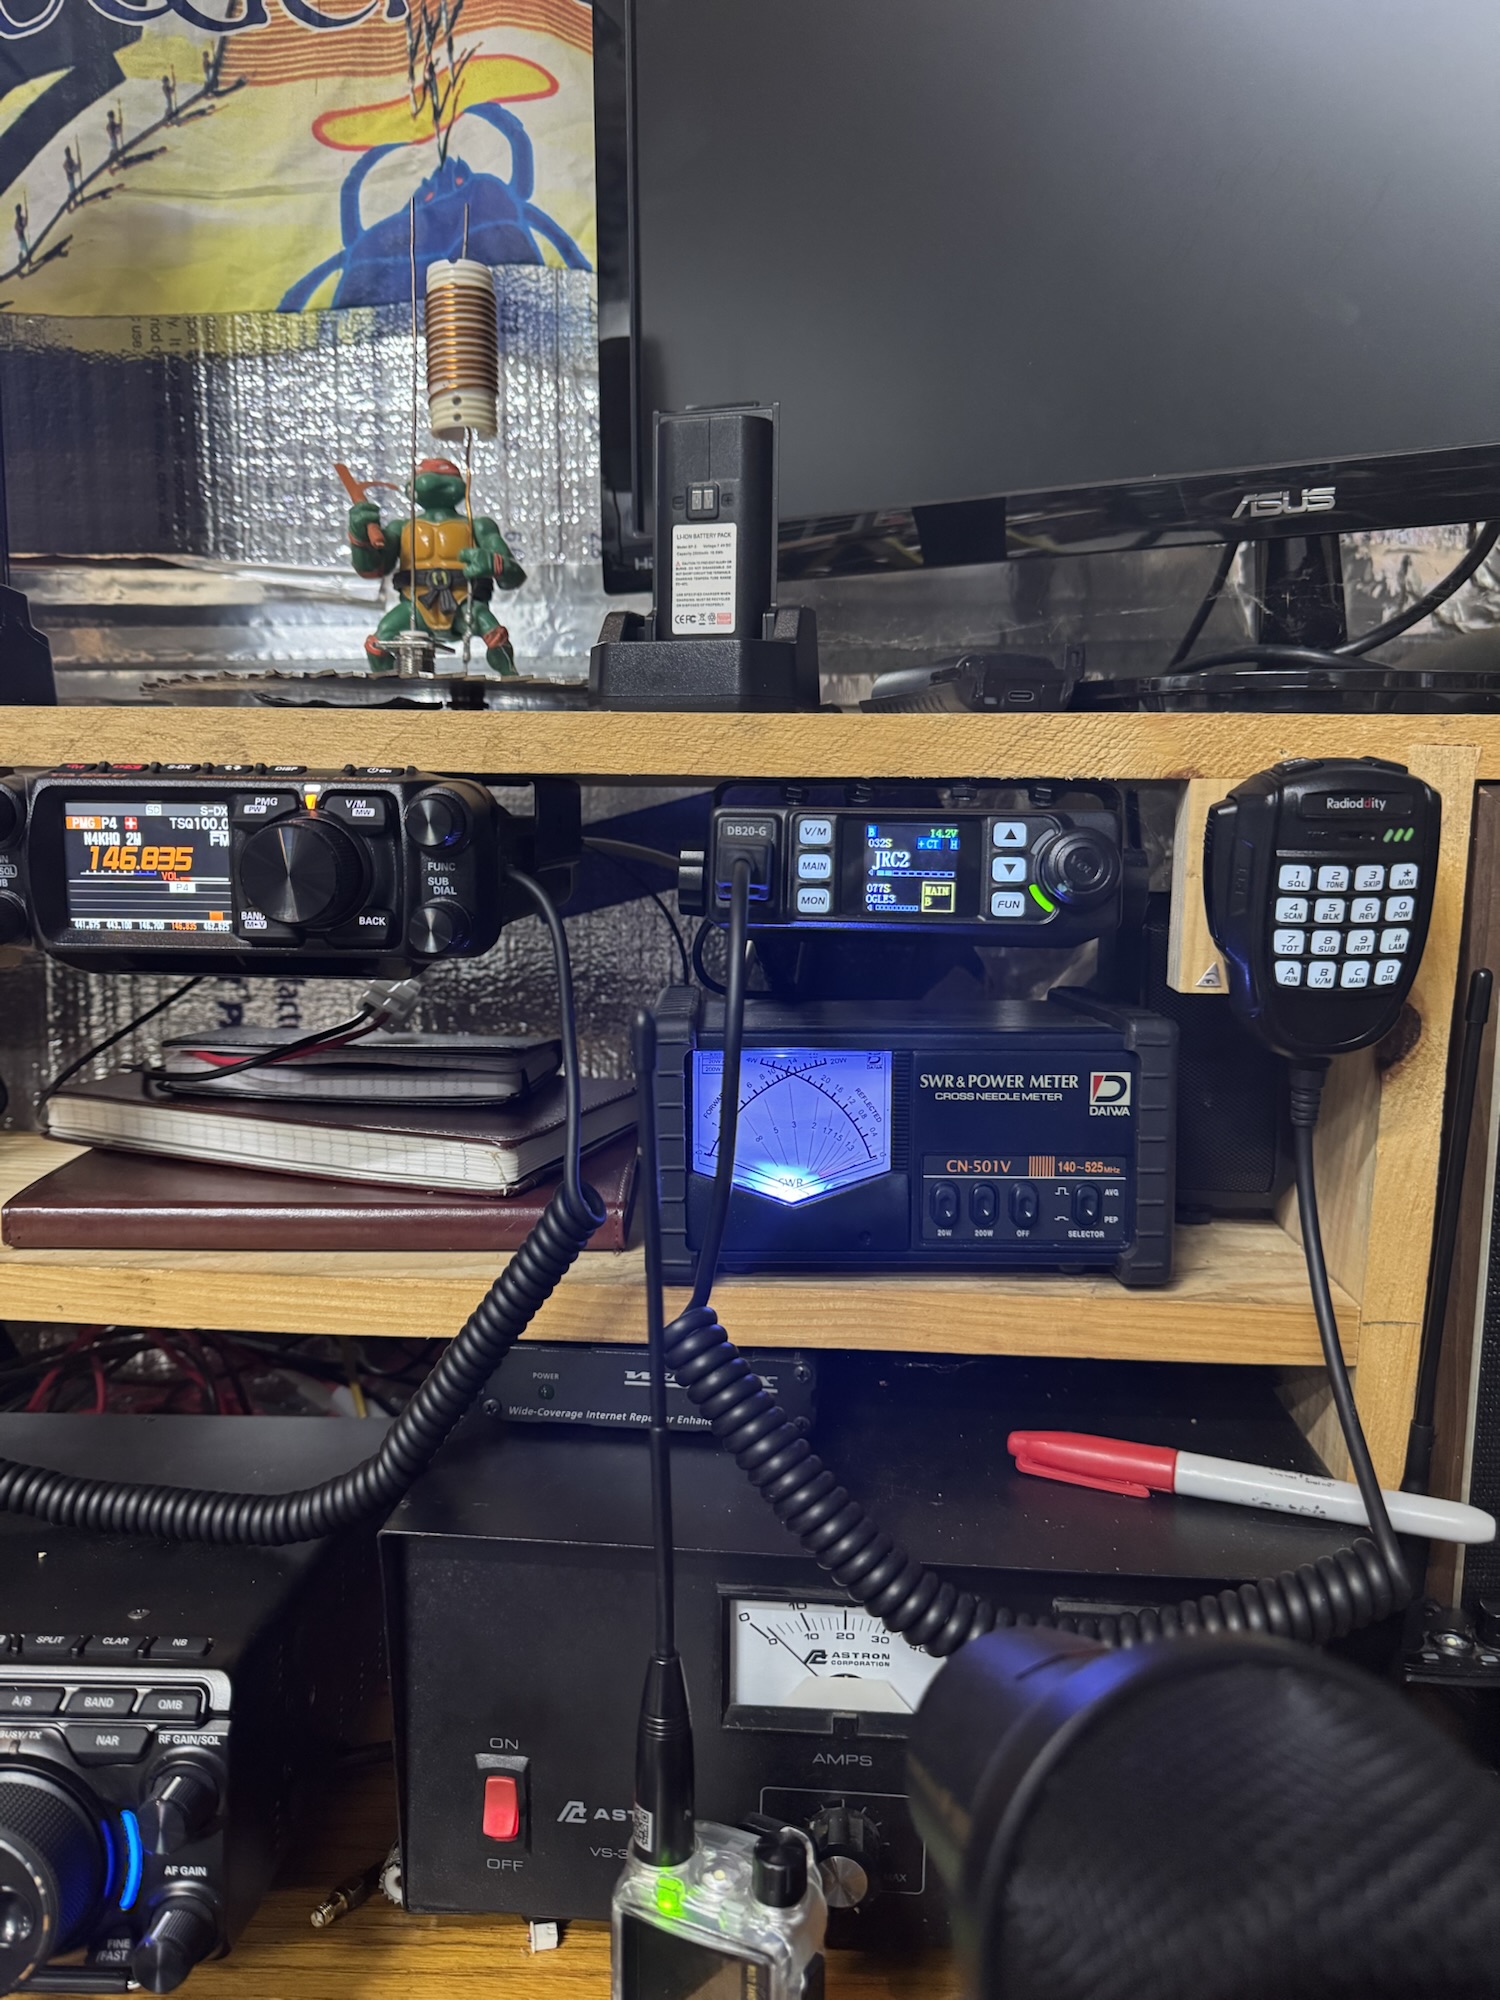
If youโre ready to take your HAM radio hobby mobile, this mobile HAM radio setup guide will show you exactly how to install, wire, and optimize a HAM radio in your vehicle. Whether youโre commuting, off-roading, or supporting emergency communications, a properly installed mobile rig ensures reliability, maximum range, and clear communication wherever you go.
In this guide, youโll learn about the essential equipment, step-by-step installation, safety practices, and the best mobile radios for beginners and advanced operators alike.
Mobile HAM Radio Setup
Why Set Up a Mobile HAM Radio?
A mobile HAM radio setup provides stronger power output (typically 25โ50 watts or more), improved signal quality, and greater range than handheld units. For operators who travel, camp, or work outdoors, a vehicle setup offers unmatched communication reach.
You can even pair your system with GMRS for versatile coverage โ ideal for family convoys, off-road adventures, or emergency communications.
๐ Read more: HAM vs GMRS Radio Guide
Essential Equipment for Your Mobile Setup
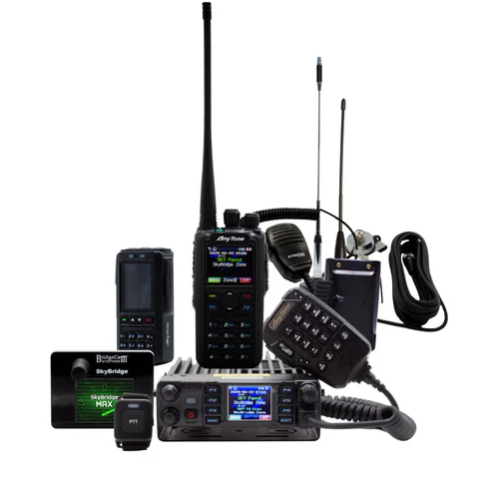
Before beginning your mobile HAM radio setup, gather the right gear:
1. Mobile HAM Radio Unit
Popular choices include:
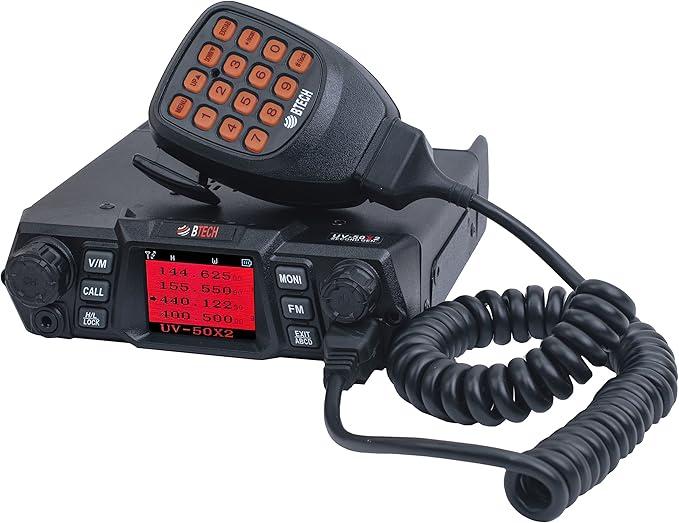
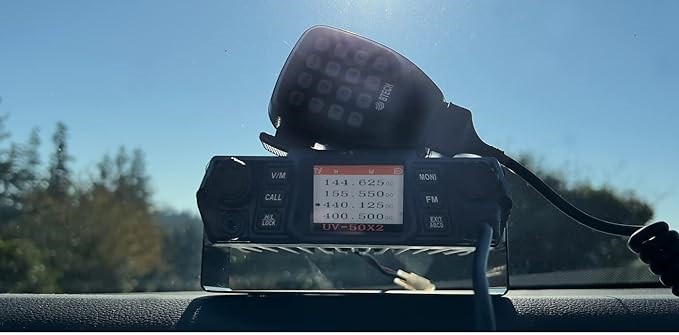
- BTECH UV-50X2 โ Dual-band, reliable, and perfect for mobile installs.
- BridgeCom AnyTone AT-D578UVIII Plus โ Feature-rich DMR mobile radio with GPS and APRS.
These radios provide excellent power output and signal clarity, making them ideal for mobile operation.
2. Antenna & Mount
Use a high-quality NMO-mount antenna, such as the Nagoya UT-72G Magnetic Mount Antenna.
Proper placement on your vehicleโs roof or trunk maximizes range and minimizes interference.
๐ Related: How to Tune and Test Your Radio Antenna3. Power Source & Cabling
- Wire directly to your vehicle battery for clean power.
- Always use fused cables; avoid cigarette lighter plugs for permanent setups.
4. Microphone & Mounting Hardware
- Mount your radio securely under the dash or seat.
- Keep your microphone within easy reach for safe operation.
5. Optional Accessories
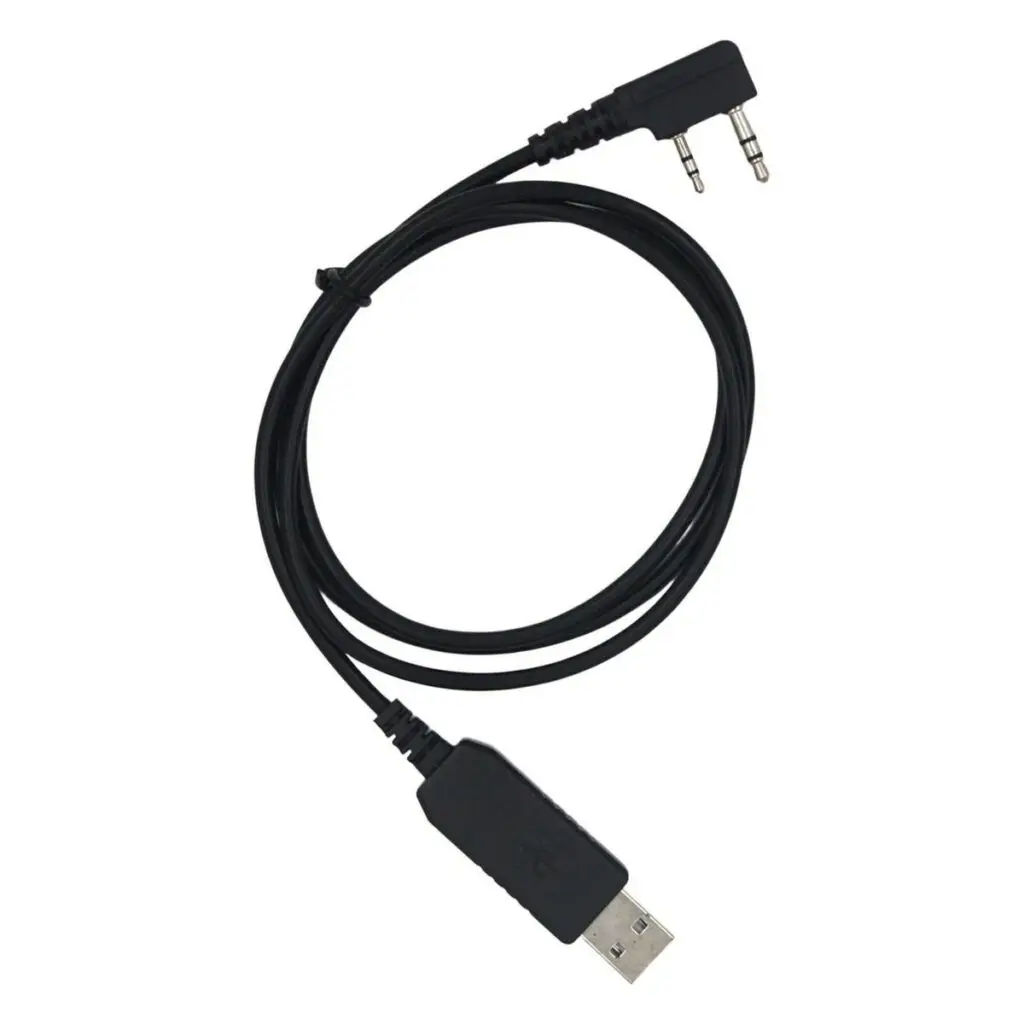
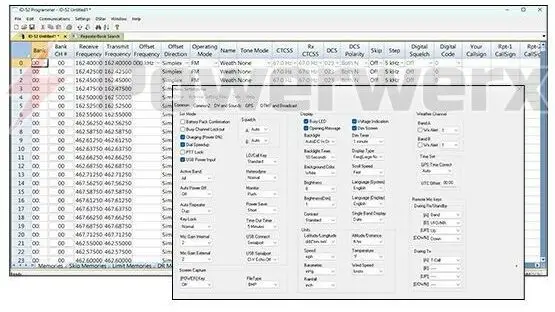
- Tidradio Bluetooth Programmer โ Program your frequencies quickly and easily via smartphone.
- External speakers or headsets can improve audio clarity in noisy vehicles.
Installation Steps
Follow these steps for a safe, reliable mobile HAM radio setup:
- Pick Your Mounting Spot
Choose an accessible location that doesnโt interfere with vehicle controls or vents. - Install the Antenna
Ensure a solid ground plane and a clean surface before mounting. - Run Power Cables
Route cables through existing firewall grommets. Connect red to battery positive, black to ground. - Connect Microphone & Accessories
Attach your mic, external speaker, and programming cable before securing the radio. - Test Your Setup
Power on the radio and check SWR (standing wave ratio). A reading under 1.5:1 indicates optimal performance.
๐ Also check: Top HAM & GMRS Accessories from BTECH
Safety & Best Practices
- Never transmit without an antenna connected.
- Always use fuses on both power leads.
- Keep coax and power wires separated to avoid interference.
- Follow local regulations for mobile transceiver operation.
If youโre new to frequency management, check:
๐ How to Understand the HAM Radio Band Plan
Top Recommended Mobile Radios
Brand Model Power Notes BTECH UV-50X2 50W Dual-band, cross-band repeat BridgeCom Systems AnyTone AT-D578UVIII Plus 50W DMR + analog, GPS, APRS Tidradio TD-H8 Handheld 10W Ideal for hybrid setups BTECH Mini UV-25X4 25W Compact quad-band mobile radio
Final Thoughts
A mobile HAM radio setup in your vehicle ensures you stay connected, prepared, and part of the radio community no matter where you go. Use quality components, follow safe wiring practices, and double-check your antenna setup for the best performance.
Once complete, your vehicle becomes a reliable mobile communication hub ready for road trips, emergency preparedness, or everyday use.
Affiliate Disclosure
Some links in this post are affiliate links. Radio Op Box may earn a small commission if you purchase through them โ at no extra cost to you. We only recommend trusted partners such as BTECH, BridgeCom Systems, Tidradio, and Amazon.
โ Internal Links
How to Tune and Test Your Radio Antenna
-

Building Your First GMRS Base Station
Getting Started with GMRS
If you’ve wondered how to make a GMRS base station, you’re in the right location. Constructing your own base station is one of the finest ways to extend communication range, reliability, and clarity for local or emergency purposes. If you are new to GMRS or looking to upgrade from a handheld radio, this guide will show you exactly how to build your installation step by step.
A GMRS base station makes you stay in touch with your group, household, or emergency contacts even when cell networks fail โ and the good news is that you can build one using some crucial components.
The Key Components of a GMRS Base Station

Building your own first GMRS base station is easier than you think once you have the right components.
1. GMRS Base Radio
Your radio is the hub of your station. It determines the power you will be able to transmit and what features you will be able to use (such as repeater access or channel scanning).
Radios We Recommend:
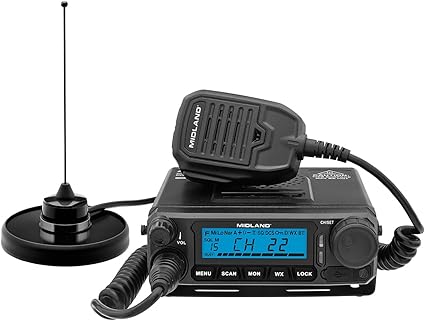
Midland MXT500 MicroMobile 50-Watt GMRS Radio โ a high-powered, easy-to-use GMRS base radio perfect for beginners. BTECH GMRS-50X1 50-Watt GMRS Base Radio โ advanced programming features, repeater support.
Tip: For even more flexibility, check out our Frequency Programming guide to GMRS and HAM Radios.
2. Antenna and Coax Cable
The antenna is the deal-breaker unit of your GMRS base station range. Putting your antenna up high (on your roof or pole) provides you with improved line-of-sight and greater reach.
Recommended Antennas:
Nagoya TB-320A Base Antenna for GMRS โ very low cost, easy to install, and works very well for home setups.
Comet GP-9 Dual Band Base Antenna โ great gain and life.
For the best performance, use low-loss coax cable like LMR-400 Coax Cable run from your antenna to your radio.
Related Reading: Best Accessories for Two-Way Radios
3. Power Supply

Most GMRS base radios use 12V DC power, which means youโll need a reliable converter or power supply if youโre running it from your home outlet.
Recommended Power Supply:
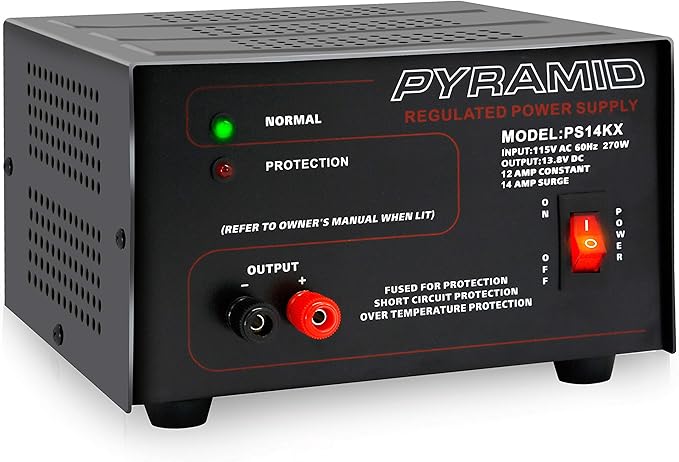
Pyramid PS14KX 12V Power Supply โ provides stable current for long operating sessions.
If you want a stronger setup which can survive non-outages, include a solar backup or battery system. We discuss this in detail in our Emergency Power Options for HAM Operators guide.
4. Mounting, Grounding & Safety
Donโt skip grounding โ itโs essential for lightning safety and reducing interference. Ground both your radio and your antenna system properly.
Don’t omit grounding โ it is required to keep you safe from lightning and to reduce interference. Ground both your radio and your antenna system properly.
For safety tips, see our guide on Lightning and Antenna Safety Tips.
How to Assemble Your GMRS Base Station
Here’s step by step how to assemble your GMRS base station:
Mount your antenna as high as it will go safely (roof, pole, or tower).
Connect your antenna to your radio with low-loss coax.
Connect your power source to your GMRS radio.
Tune your antenna with an SWR meter for optimal performance.
Do a range test to make sure your setup is transmitting cleanly.
Following assembly, your GMRS base station gives you sharp communication across several miles โ perfect for community nets, prepping, or off-grid communications.
Pro Tips for Expanding Your Setup
Once you’ve got your base station operational, you can expand it with ease by adding:
Repeater Access: to boost your range of communication.
External Speaker: for improved indoor clarity.
Battery Backup: for continuous off-grid use.
Check out our article on Essential Two-Way Radio Accessories for Enhanced Communication additional tips on how to make your set-up better.
Final Thoughts
With what you’ve just read about how to build a GMRS base station, you’re now ready to have access to powerful, solid communications that beat handhelds every time. With the right radio, antenna, and power setup, you’ll have a station that keeps you in touch โ whether it’s for everyday use, emergency preparedness, or communicating with your neighborhood.
Start constructing today and watch what a good-quality GMRS base station can achieve!
Amazon Affiliate Disclosure
I am an Amazon Associate and earn commissions from qualifying purchases. That means if you click on a product link and purchase something, we’ll receive a small commission at no extra cost to you. This helps support our content at RadioOpBox.com โ thank you for the support!
-

A Beginner’s Guide to Programming DMR Radios
Stepping into the world of Digital Mobile Radio (DMR) can be both exciting and daunting for newcomers. While the promise of crisp digital audio, robust features, and a worldwide network of repeaters is alluring, the process of programming a DMR radio often feels like learning a secret language. Unlike traditional analog radios, DMR devices require a more structured approach, centered around creating a digital file known as a codeplug.
This is a beginner’s guide to programming DMR radios and is designed to demystify that process, breaking down the key concepts and providing a clear, step-by-step path to getting your radio on the air. We’ll equip you with the foundational knowledge and practical steps needed to confidently program your first DMR handheld.
Understanding DMR: Key Concepts and Terminology
Before you even connect your radio to a computer, it’s crucial to grasp a few core DMR concepts.
- Codeplug โ The “brain” of your radio: a file containing all frequencies, settings, and contacts.
- Channels โ Saved frequencies, each paired with a Color Code (like CTCSS for digital) and Time Slot (TS1/TS2).
- Talk Groups (TG) โ Pre-defined groups of users (e.g., Local, USA Nationwide, Worldwide).
- Contacts โ A saved Talk Group or Radio ID inside your codeplug.
- Zones โ Logical groups of channels you can organize (like โHome Repeatersโ or โTravelโ).
This structureโContacts โ Channels โ Zonesโis the foundation of DMR programming.
Step-by-Step Guide to Your First Codeplug
1. Gather Your Tools
Youโll need:
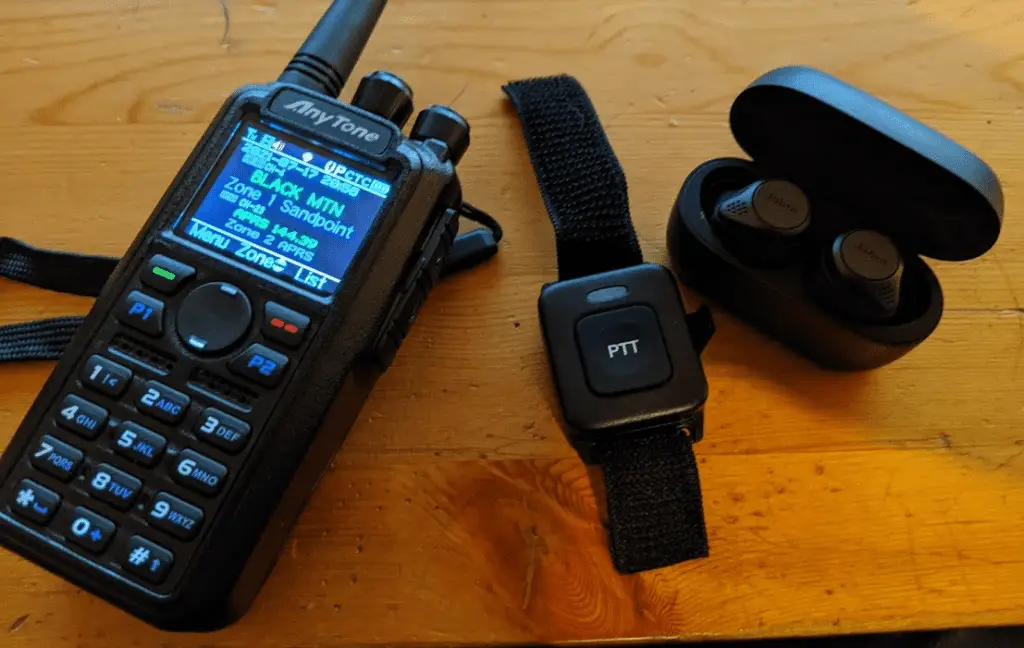
- A DMR radio like the AnyTone AT-D878UVII Plus (great for beginners).
- A USB programming cable (often included, but you can get a reliable one here).
- The manufacturerโs programming software, usually free to download.
Pro Tip: A good starter radio is the Baofeng DM-1702 DMRโaffordable, beginner-friendly, and widely supported.

2. Find a Local DMR Repeater
Visit RadioReference or your local clubโs site to locate:
- Frequency
- Color Code
- Time Slots
- Talk Groups available
Write these details down.
3. Build Your Codeplug
Inside your software:
- Add Contacts (Talk Groups) โ e.g., Worldwide 91, USA Nationwide 3100, Local 2.
- Create Channels โ Enter repeater frequency, Color Code, Time Slot, and assign a Talk Group.
- Organize into Zones โ Example: โLocal Repeatersโ zone with your nearby channels.
4. Upload to Your Radio
- Connect your programming cable.
- Select Write to Radio in the software.
- Disconnect, switch zones, and test your first channel!

Tips for Success
- Start simple with one repeater and a few Talk Groups.
- Listen first before transmitting.
- Join a club or online groupโthe DMR community is welcoming and supportive.
Recommended Gear for Beginners
Starter DMR Handhelds:
Must-Have Accessories:
Keep Learning with RadioOpBox
If youโre exploring DMR and handheld gear, check out more helpful guides right here on RadioOpBox.com:
- How to Pair Your AnyTone 878UVII Plus Bluetooth PTT Button
Learn how to connect your AnyTone 878UVII Plus push-to-talk button for hands-free operation โ perfect for mobile and field use. - Building Your First GMRS Base Station
Step-by-step setup for a strong and reliable GMRS home station.
Final Thoughts
Programming your first DMR radio is a rewarding milestone that opens the door to global connections and crystal-clear communications. While the learning curve is steeper than analog, the payoff is huge.
Start small, lean on the DMR community for guidance, and before long youโll be confidently making worldwide contacts.
๐ Ready to get started? Grab a DMR radio here on Amazon and take your first step into the world of digital radio!
Amazon Affiliate Disclaimer
This site is a participant in the Amazon Services LLC Associates Program, an affiliate advertising program designed to provide a means for sites to earn advertising fees by advertising and linking to Amazon.com.
Amazon and the Amazon logo are trademarks of Amazon.com, Inc. or its affiliates.
We are not affiliated with, endorsed by, or sponsored by Amazon in any way.