Your cart is currently empty!
Tag: Radio Setup
-

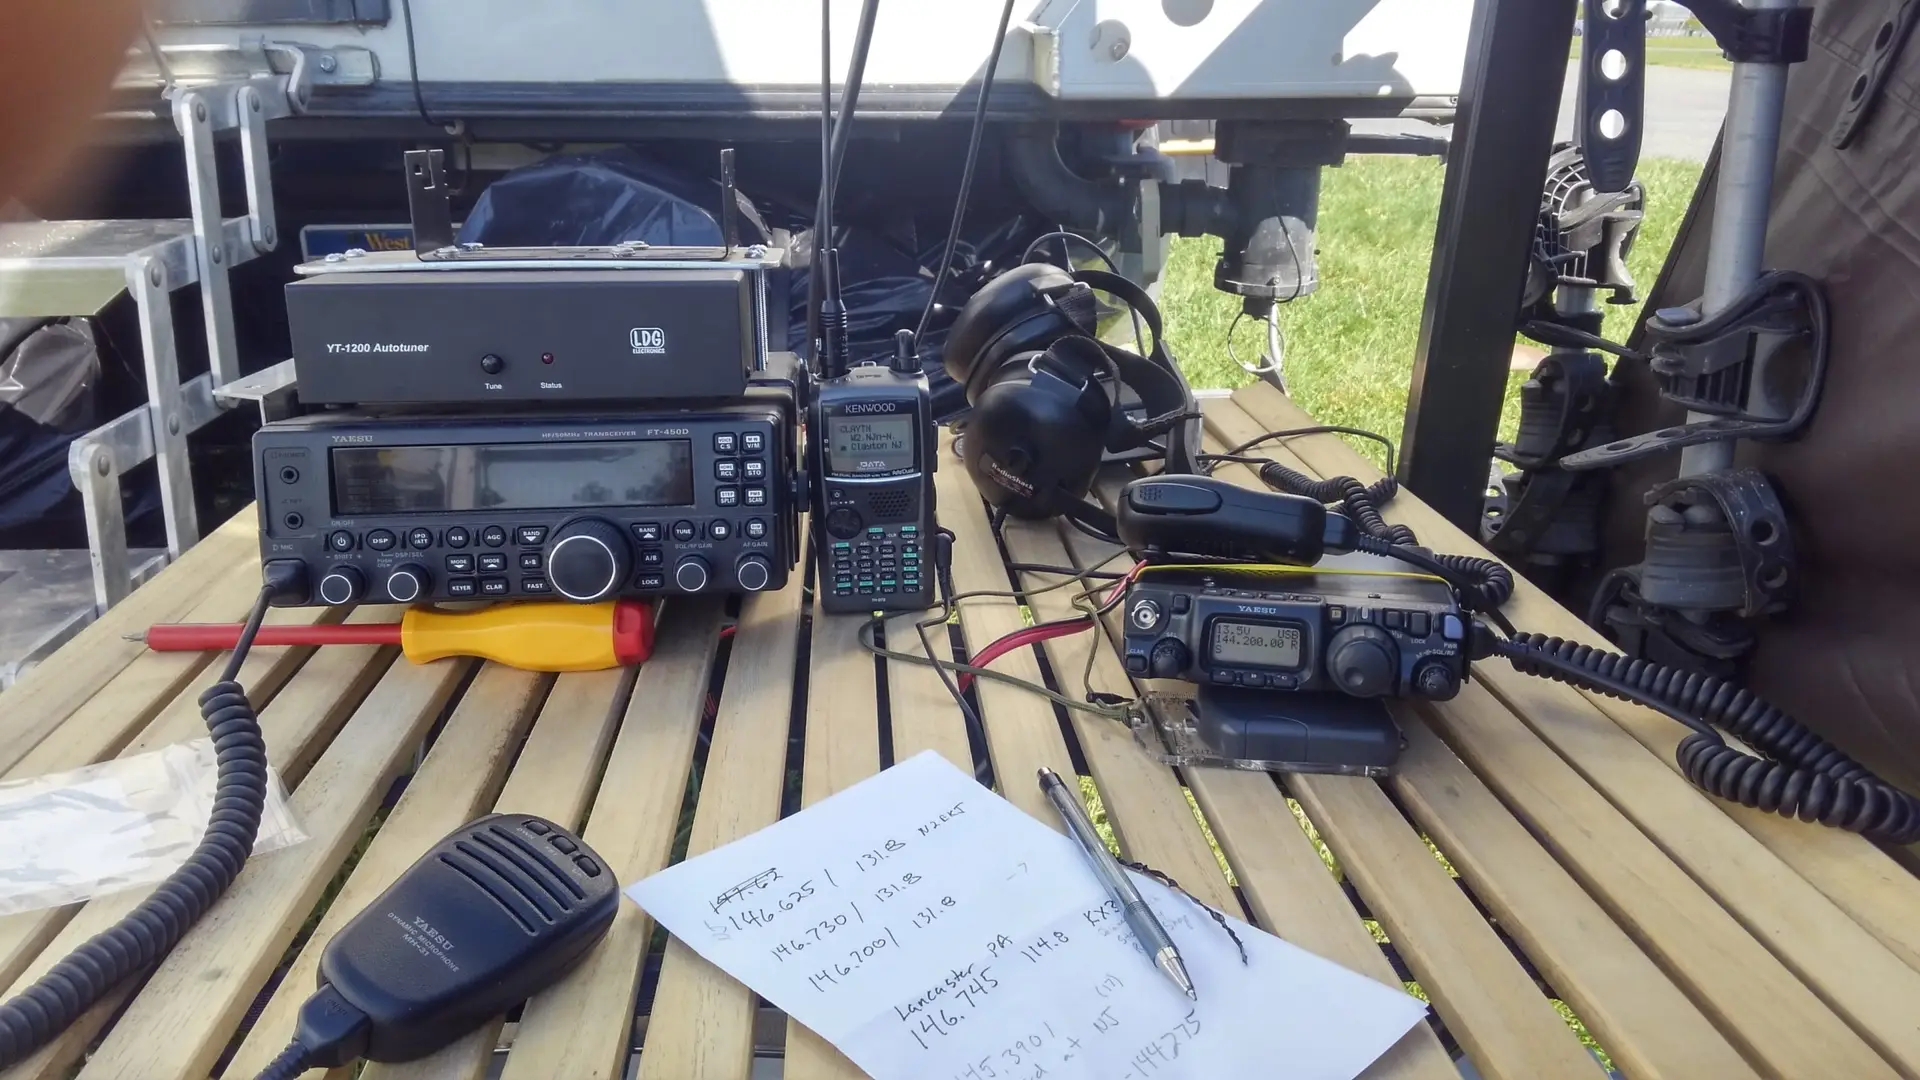
Mobile HAM Radio Setup: How to Install a HAM Radio in Your Vehicle
Table of Contents
If youโre ready to take your HAM radio hobby mobile, this mobile HAM radio setup guide will show you exactly how to install, wire, and optimize a HAM radio in your vehicle. Whether youโre commuting, off-roading, or supporting emergency communications, a properly installed mobile rig ensures reliability, maximum range, and clear communication wherever you go.
In this guide, youโll learn about the essential equipment, step-by-step installation, safety practices, and the best mobile radios for beginners and advanced operators alike.
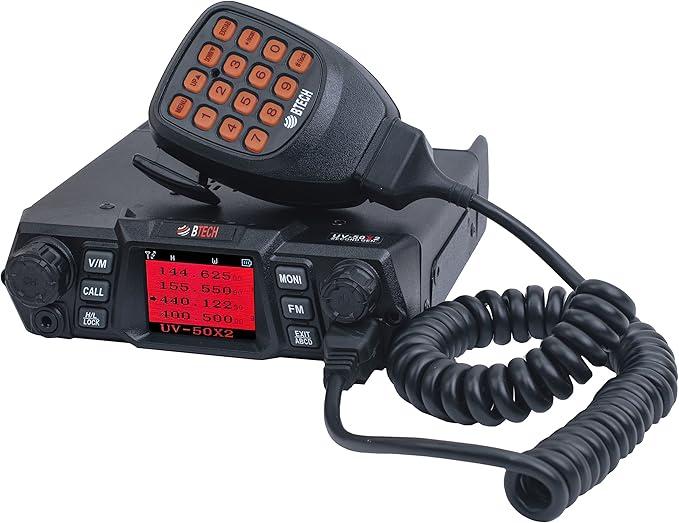
Mobile HAM Radio Setup
Why Set Up a Mobile HAM Radio?
A mobile HAM radio setup provides stronger power output (typically 25โ50 watts or more), improved signal quality, and greater range than handheld units. For operators who travel, camp, or work outdoors, a vehicle setup offers unmatched communication reach.
You can even pair your system with GMRS for versatile coverage โ ideal for family convoys, off-road adventures, or emergency communications.
๐ Read more: HAM vs GMRS Radio Guide
Essential Equipment for Your Mobile Setup
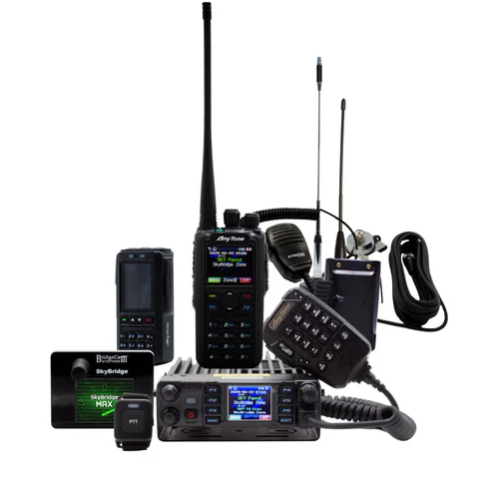
Before beginning your mobile HAM radio setup, gather the right gear:
1. Mobile HAM Radio Unit
Popular choices include:
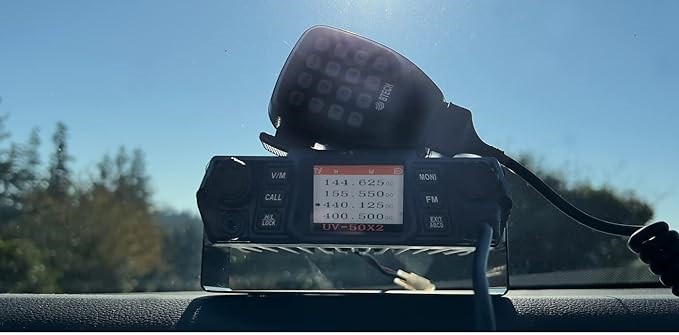
- BTECH UV-50X2 โ Dual-band, reliable, and perfect for mobile installs.
- BridgeCom AnyTone AT-D578UVIII Plus โ Feature-rich DMR mobile radio with GPS and APRS.
These radios provide excellent power output and signal clarity, making them ideal for mobile operation.
2. Antenna & Mount
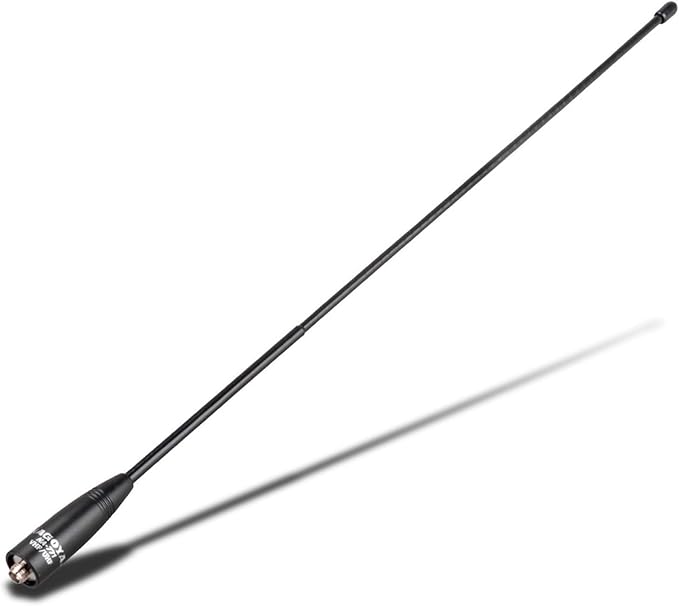
Use a high-quality NMO-mount antenna, such as the Nagoya UT-72G Magnetic Mount Antenna.
Proper placement on your vehicleโs roof or trunk maximizes range and minimizes interference.
๐ Related: How to Tune and Test Your Radio Antenna3. Power Source & Cabling
- Wire directly to your vehicle battery for clean power.
- Always use fused cables; avoid cigarette lighter plugs for permanent setups.
4. Microphone & Mounting Hardware
- Mount your radio securely under the dash or seat.
- Keep your microphone within easy reach for safe operation.
5. Optional Accessories
- Tidradio Bluetooth Programmer โ Program your frequencies quickly and easily via smartphone.
- External speakers or headsets can improve audio clarity in noisy vehicles.
Installation Steps
Follow these steps for a safe, reliable mobile HAM radio setup:
- Pick Your Mounting Spot
Choose an accessible location that doesnโt interfere with vehicle controls or vents. - Install the Antenna
Ensure a solid ground plane and a clean surface before mounting. - Run Power Cables
Route cables through existing firewall grommets. Connect red to battery positive, black to ground. - Connect Microphone & Accessories
Attach your mic, external speaker, and programming cable before securing the radio. - Test Your Setup
Power on the radio and check SWR (standing wave ratio). A reading under 1.5:1 indicates optimal performance.
๐ Also check: Top HAM & GMRS Accessories from BTECH
Safety & Best Practices
- Never transmit without an antenna connected.
- Always use fuses on both power leads.
- Keep coax and power wires separated to avoid interference.
- Follow local regulations for mobile transceiver operation.
If youโre new to frequency management, check:
๐ How to Understand the HAM Radio Band Plan
Top Recommended Mobile Radios
Brand Model Power Notes BTECH UV-50X2 50W Dual-band, cross-band repeat BridgeCom Systems AnyTone AT-D578UVIII Plus 50W DMR + analog, GPS, APRS Tidradio TD-H8 Handheld 10W Ideal for hybrid setups BTECH Mini UV-25X4 25W Compact quad-band mobile radio
Final Thoughts
A mobile HAM radio setup in your vehicle ensures you stay connected, prepared, and part of the radio community no matter where you go. Use quality components, follow safe wiring practices, and double-check your antenna setup for the best performance.
Once complete, your vehicle becomes a reliable mobile communication hub ready for road trips, emergency preparedness, or everyday use.
Affiliate Disclosure
Some links in this post are affiliate links. Radio Op Box may earn a small commission if you purchase through them โ at no extra cost to you. We only recommend trusted partners such as BTECH, BridgeCom Systems, Tidradio, and Amazon.
โ Internal Links
How to Tune and Test Your Radio Antenna
-

Frequency Programming for Radios: HAM & GMRS Step-by-Step Guide
Table of Contents
Beginner’s Guide to Frequency Programming for Radios (HAM & GMRS)
Learning radio frequency programming for HAM and GMRS radios is a top priority for new operators. Proper programming provides clear communication, avoids interference, and makes your radios function efficiently. This tutorial provides detailed instruction from manual programming to utilizing CHIRP software, with recommended accessories to ease the process.
Whether youโre a hobbyist or just starting your radio setup, this guide will walk you through step-by-step instructions, plus pro tips to avoid common mistakes.
What is Frequency Programming?

FCC Band Plan Frequency programming is the process of setting channels and frequencies on your radio. It determines how your radio communicates and ensures you transmit on the correct legal frequencies. Both HAM radios and GMRS radios require proper frequency setup, though GMRS requires an FCC license in the United States.
There are two main methods:
- Manual Programming: Enter frequencies directly using your radio’s keypad.
- Computer Programming: Use software like CHIRP with a USB programming cable to program multiple channels efficiently.
Pro Tip: Using a programming cable with CHIRP is much faster than manual entry, especially if you plan to program multiple radios.
Check compatible programming cables on Amazon
Step-by-Step Frequency Programming for Radios
1. Choose the Correct Frequency Range
Make sure your radio supports the bands you want to use. HAM operators commonly use VHF (144โ148 MHz) and UHF (420โ450 MHz), while GMRS users operate between 462โ467 MHz. Always confirm your frequency is legal in your area.
2. Select or Create a Channel
Decide which channel to program and name it for easy recognition (e.g., โLocal Netโ or โRepeater 1โ). This helps avoid confusion when you have multiple channels programmed.
3. Enter the Frequency
Manual: Use the keypad to input the frequency directly.
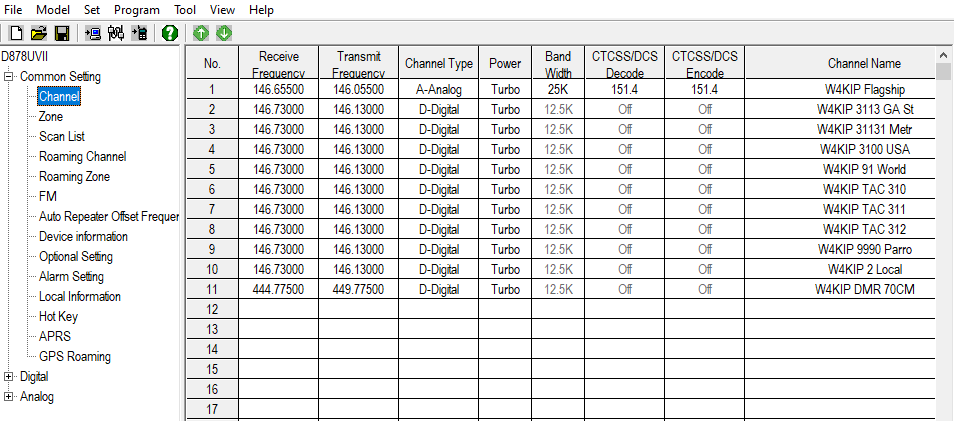
CHIRP Software: Open CHIRP โ Download from Radio โ Edit channels โ Upload to Radio. CHIRP allows you to quickly rename channels, set tones, and backup your frequency list.
4. Set Privacy Codes (Optional)
Many radios allow you to set CTCSS or DCS codes to reduce interference from other nearby users. If youโre communicating in a crowded area, this is highly recommended.
5. Save and Test Your Settings
Always transmit and receive after programming to confirm clear communication. Testing ensures your radio is working correctly and that all channels are properly programmed.
Recommended Radios for Beginners
For beginners learning frequency programming, we recommend:
- AnyTone 878UVII Plus โ Compatible with CHIRP, reliable for HAM and GMRS, and beginner-friendly.
- Other HAM & GMRS radios โ Browse our full selection of radios for all experience levels.
Recommended Accessories for Programming
- USB Programming Cable โ Essential for CHIRP software.
- CHIRP Software (Free) โ Download CHIRP here.
- Battery Backup โ Prevent data loss during power outages.
- Label Maker or Logbook โ Keep track of programmed channels and tones.
Explore all two-way radio accessories
Pro Tips for Beginners
- Double-check your frequencies to ensure legality.
- Keep a written log of channels and tone settings.
- Start with a few basic channels before programming dozens.
- Use CHIRPโs โExportโ feature to backup your channel list.
- Label your radios clearly for each frequency set.
Comparison: Manual vs CHIRP Programming
Method Pros Cons Manual Programming No extra software required, good for a few channels Time-consuming, prone to errors, difficult for multiple radios CHIRP Programming Fast, allows backups, easy editing, ideal for multiple radios Requires cable and computer, small learning curve
Additional Resources & External Links
Conclusion
Mastering frequency programming for radios is a critical first step for any beginner radio operator. With tools like CHIRP, a USB programming cable, and beginner-friendly radios such as the AnyTone 878UVII Plus, youโll save time, avoid mistakes, and enjoy clear communication. Start simple, follow these steps, and expand your channels as you gain confidence.
Check out our full selection of HAM and GMRS radios and accessories to get started today!
Amazon Affiliate Disclosure: As an Amazon Associate, RadioOpBox earns from qualifying purchases.
-

Essential Accessories for Your HAM and GMRS Radio Setup
10 Must-Have Accessories for HAM and GMRS Radios
Stepping into the world of HAM and GMRS radios unlocks incredible potential for communication, from casual chats with local friends to reaching across continents and providing critical support during emergencies. However, the experience delivered by your radio is only as good as the accessories that support it. A bare radio is a starting point, not a finished toolkit. To truly unlock performance, reliability, and convenience, you need to equip yourself with the right gear.
Here are the top 10 must-have HAM and GMRS radio accessories to build a robust and effective setup.
1. High-Performance Antennas

The single most impactful upgrade for any radio is its antenna. The small rubber โduckโ antenna that comes with most handhelds is built for portability, not performance. Upgrading to a higher-gain aftermarket antenna can dramatically improve both transmit and receive capabilities.
๐ Recommended: Nagoya NA-771 Dual Band Antenna
2. Quality Coaxial Cable

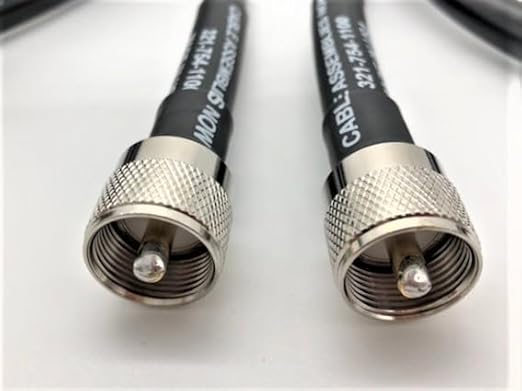
Even the best antenna is useless with poor-quality coax. Using low-loss coaxial cable like LMR-400 or RG-8X ensures maximum power transfer and minimal signal loss.
๐ Recommended: LMR-400 Coaxial Cable
3. Mobile Mounting Kits

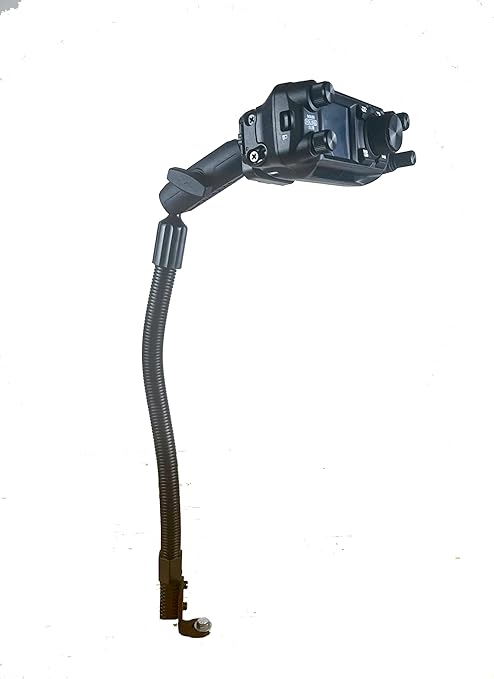
For GMRS and HAM mobile radios, a proper mounting kit keeps your setup stable and safe.
๐ Recommended: Lido LM-300 Universal Radio Mount
4. External Microphones and Speaker Mics

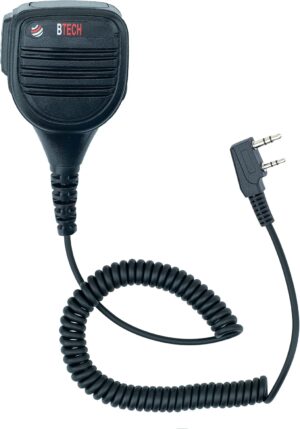
Using an external mic or speaker mic not only improves audio clarity but also adds convenience when operating on the go.
๐ Recommended: BTECH QHM22 Speaker Mic
5. Power Distribution Boxes

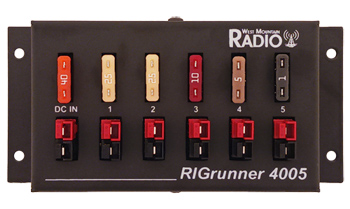
For mobile setups, a dedicated power distribution box wired directly to your vehicleโs battery ensures clean, stable power without draining a lighter socket.
๐ Recommended: RIGrunner 4005 Power Distribution
6. Portable Battery Packs

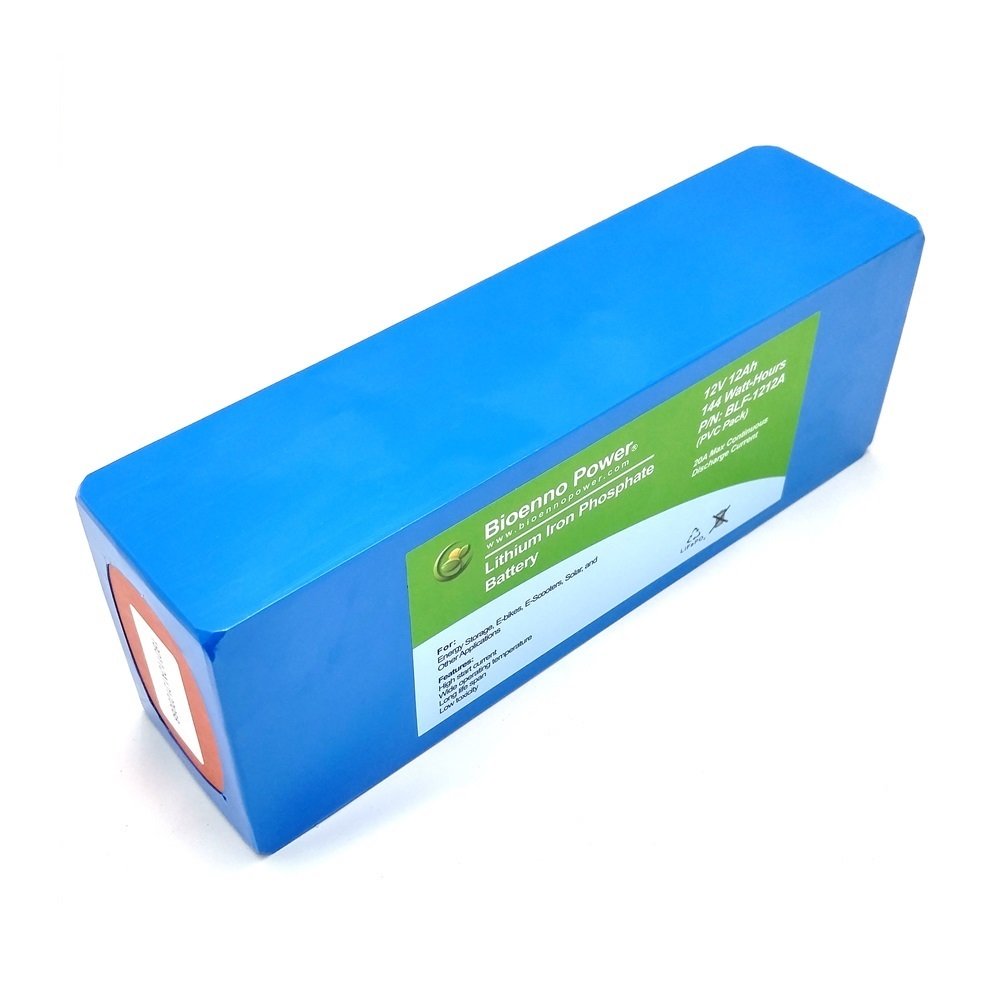
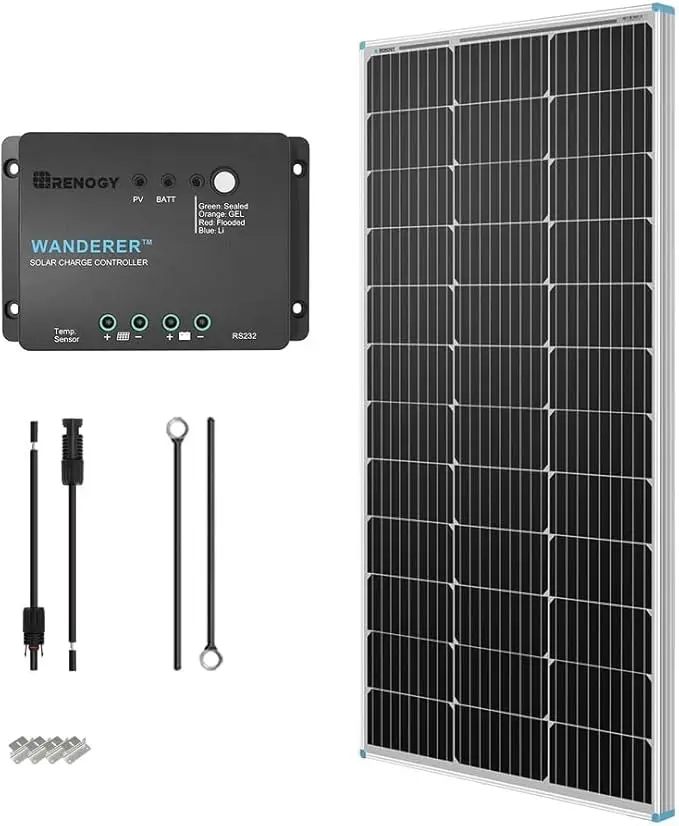
For off-grid and field operations, a LiFePO4 battery pack can run a 50-watt mobile unit for hours. Pair it with a solar panel for indefinite operation.
๐ Recommended: Bioenno LiFePO4 Battery Pack
7. Solar Charging Solutions

(Insert Image: folding solar panel charging radios outdoors)
A portable solar panel ensures your radios stay powered during emergencies or long outdoor trips.
๐ Recommended: Renogy 100W Solar Panel Kit
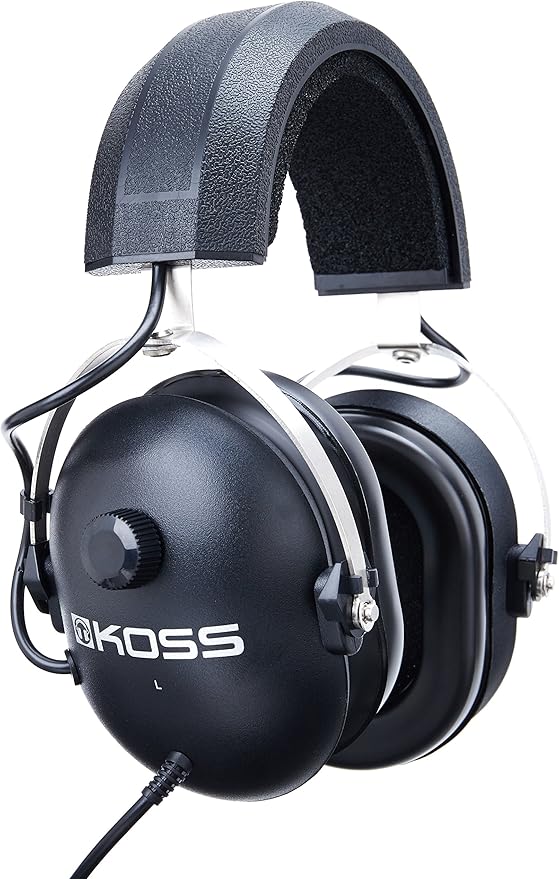
8. Noise-Cancelling Headsets

Clear communication is critical. A noise-cancelling headset cuts through background static and outdoor noise, making your transmissions crystal clear.
๐ Recommended: Koss Noise Reduction Headset
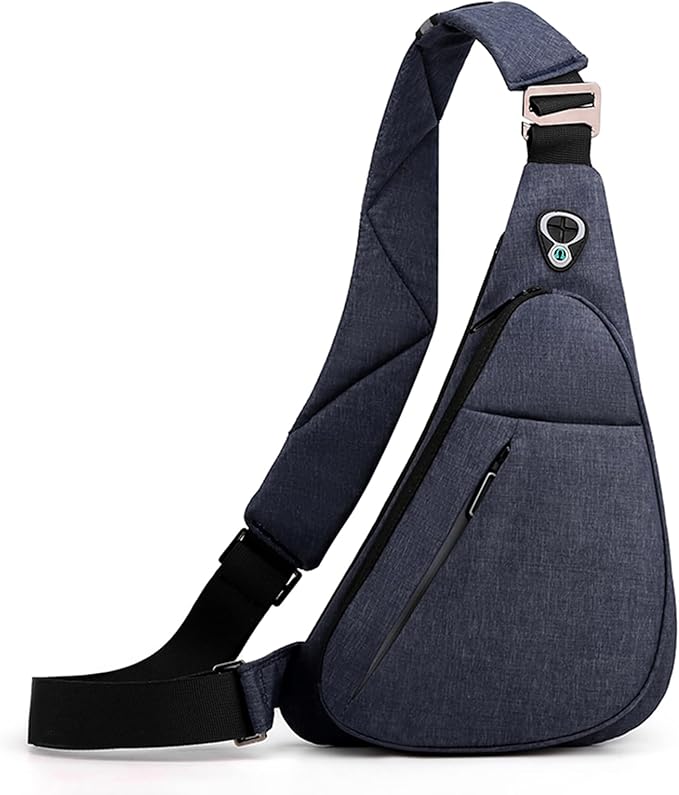
9. Protective Cases and Go-Bags

Whether youโre hiking with a GMRS radio or running a HAM emergency drill, a padded case or tactical go-bag protects your investment.
๐ Recommended: MAXTOP Tactical Sling Bag
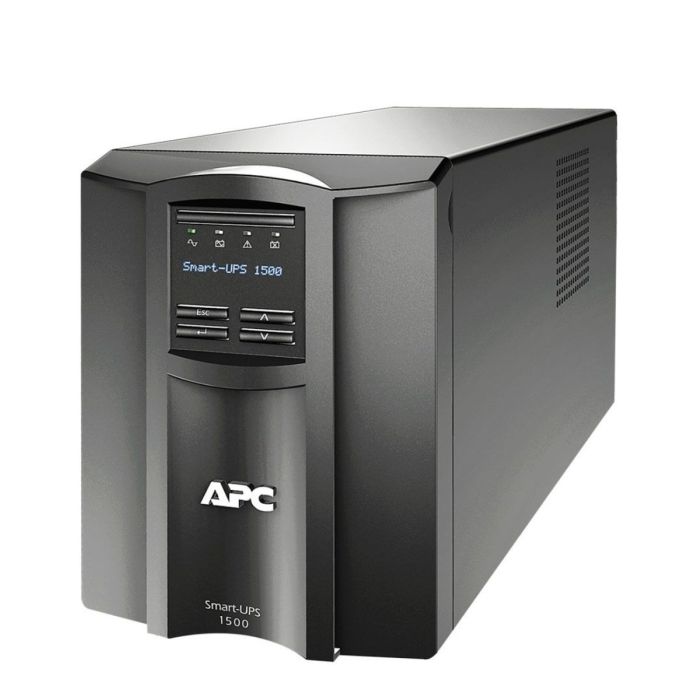
10. Backup Power at Home

A reliable backup power system ensures your home station stays online during outages. Even a simple UPS or deep-cycle battery bank can keep you transmitting when the grid is down.
๐ Recommended: APC UPS Battery Backup
Final Thoughts
Building a capable and resilient radio station setup is a journey of incremental upgrades. By investing in the right accessoriesโfrom antennas to power solutionsโyou transform a simple radio into a powerful communication tool.
Whether youโre a HAM operator experimenting with new frequencies or a GMRS user ensuring your family stays connected, the right gear enhances your range, clarity, and reliability.
The goal is simple: not just to talk, but to be heardโclearly and consistentlyโno matter the circumstances.
Amazon Affiliate Disclosure
As an Amazon Associate, RadioOpBox.com earns from qualifying purchases. This does not affect the price you pay and helps support our mission to provide radio operators with valuable guides and resources.