Stepping into the world of Digital Mobile Radio (DMR) can be both exciting and daunting for newcomers. While the promise of crisp digital audio, robust features, and a worldwide network of repeaters is alluring, the process of programming a DMR radio often feels like learning a secret language. Unlike traditional analog radios, DMR devices require a more structured approach, centered around creating a digital file known as a codeplug.
This is a beginner’s guide to programming DMR radios and is designed to demystify that process, breaking down the key concepts and providing a clear, step-by-step path to getting your radio on the air. We’ll equip you with the foundational knowledge and practical steps needed to confidently program your first DMR handheld.
Understanding DMR: Key Concepts and Terminology
Before you even connect your radio to a computer, it’s crucial to grasp a few core DMR concepts.
- Codeplug – The “brain” of your radio: a file containing all frequencies, settings, and contacts.
- Channels – Saved frequencies, each paired with a Color Code (like CTCSS for digital) and Time Slot (TS1/TS2).
- Talk Groups (TG) – Pre-defined groups of users (e.g., Local, USA Nationwide, Worldwide).
- Contacts – A saved Talk Group or Radio ID inside your codeplug.
- Zones – Logical groups of channels you can organize (like “Home Repeaters” or “Travel”).
This structure—Contacts → Channels → Zones—is the foundation of DMR programming.
Step-by-Step Guide to Your First Codeplug
1. Gather Your Tools
You’ll need:
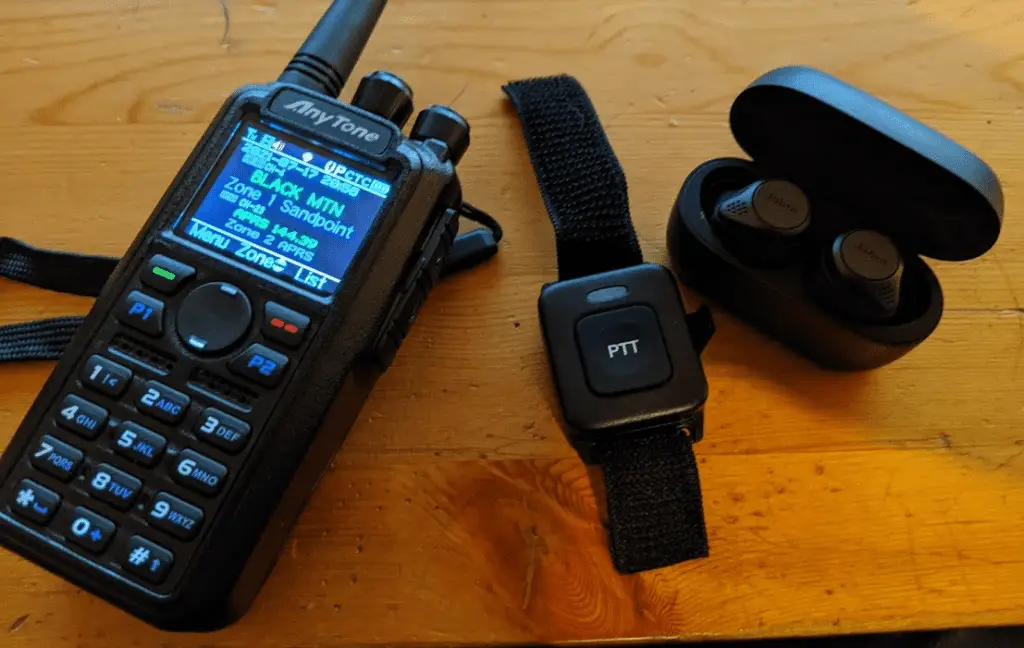
- A DMR radio like the AnyTone AT-D878UVII Plus (great for beginners).
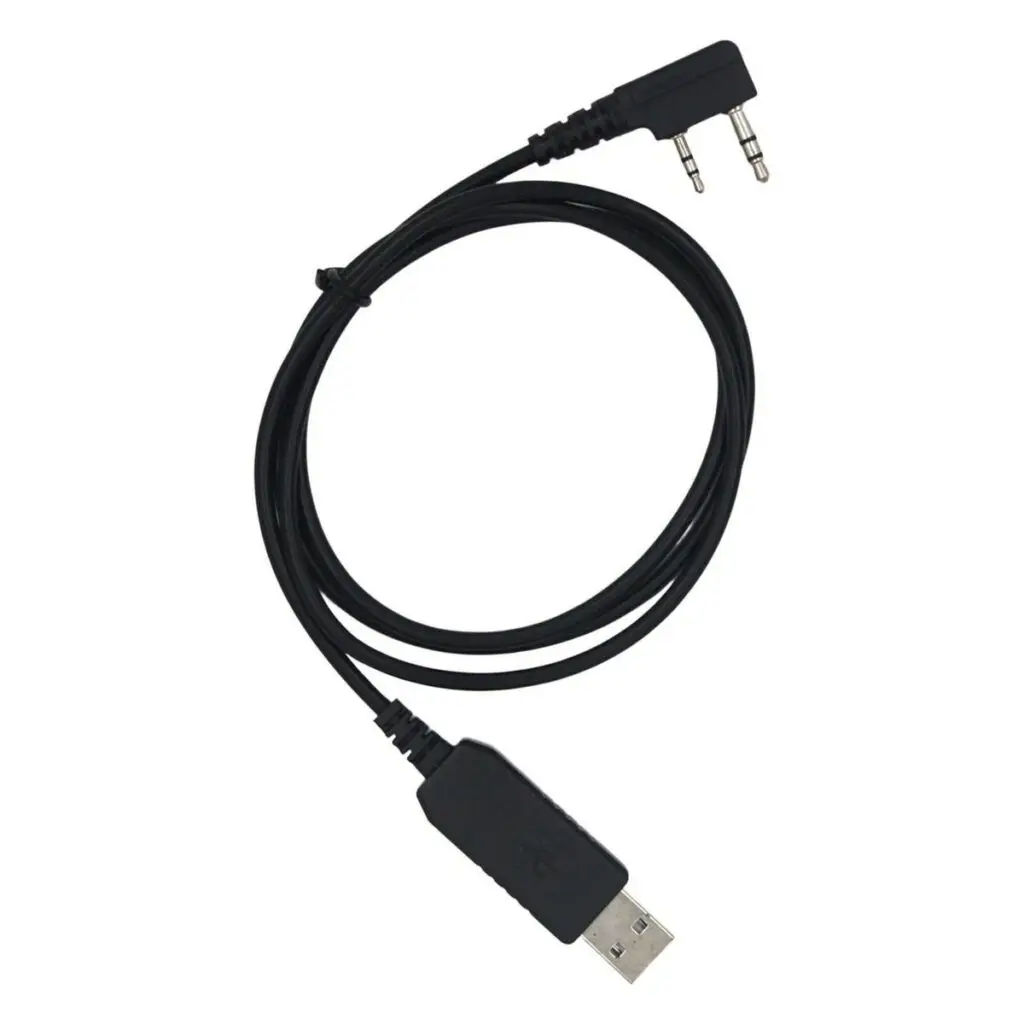
- A USB programming cable (often included, but you can get a reliable one here).
- The manufacturer’s programming software, usually free to download.
Pro Tip: A good starter radio is the Baofeng DM-1702 DMR—affordable, beginner-friendly, and widely supported.

2. Find a Local DMR Repeater
Visit RadioReference or your local club’s site to locate:
- Frequency
- Color Code
- Time Slots
- Talk Groups available
Write these details down.
3. Build Your Codeplug
Inside your software:
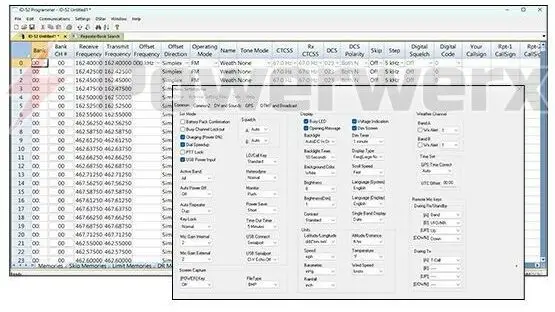
- Add Contacts (Talk Groups) – e.g., Worldwide 91, USA Nationwide 3100, Local 2.
- Create Channels – Enter repeater frequency, Color Code, Time Slot, and assign a Talk Group.
- Organize into Zones – Example: “Local Repeaters” zone with your nearby channels.
4. Upload to Your Radio
- Connect your programming cable.
- Select Write to Radio in the software.
- Disconnect, switch zones, and test your first channel!

Tips for Success
- Start simple with one repeater and a few Talk Groups.
- Listen first before transmitting.
- Join a club or online group—the DMR community is welcoming and supportive.
Recommended Gear for Beginners
Starter DMR Handhelds:
Must-Have Accessories:
Keep Learning with RadioOpBox
If you’re exploring DMR and handheld gear, check out more helpful guides right here on RadioOpBox.com:
- How to Pair Your AnyTone 878UVII Plus Bluetooth PTT Button
Learn how to connect your AnyTone 878UVII Plus push-to-talk button for hands-free operation — perfect for mobile and field use. - Building Your First GMRS Base Station
Step-by-step setup for a strong and reliable GMRS home station.
Final Thoughts
Programming your first DMR radio is a rewarding milestone that opens the door to global connections and crystal-clear communications. While the learning curve is steeper than analog, the payoff is huge.
Start small, lean on the DMR community for guidance, and before long you’ll be confidently making worldwide contacts.
👉 Ready to get started? Grab a DMR radio here on Amazon and take your first step into the world of digital radio!
Amazon Affiliate Disclaimer
This site is a participant in the Amazon Services LLC Associates Program, an affiliate advertising program designed to provide a means for sites to earn advertising fees by advertising and linking to Amazon.com.
Amazon and the Amazon logo are trademarks of Amazon.com, Inc. or its affiliates.
We are not affiliated with, endorsed by, or sponsored by Amazon in any way.


Leave a Reply